


Three pumpkin DIY projects to get creative this fall
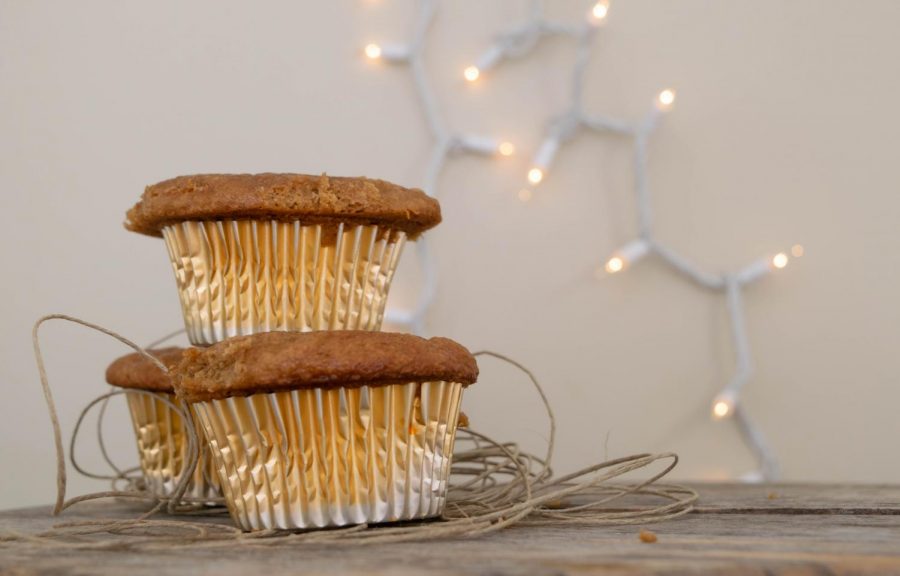
Photo by Russell Chesnut
Fall has a way of bringing out people’s creativity more than any other season. From baking pies to carving pumpkins, it seems there’s no shortage of hands-on ways to celebrate. For those who want a simple craft to kick off the season, these pumpkin-themed DIY projects are perfect!
Pumpkin Spice Candles
By Alexis Johnson
The smell of pumpkin spice can put anyone in a festive mood. These homemade candles are a great for home decor as well as gift giving.
Materials
· 2 cups soy wax flakes
· 1 candle wick with weighted bottom
· orange crayon
· 1 tsp pumpkin spice
· 1/2 tsp nutmeg
· 1/2 tsp cinnamon
· glass jar (mason jar, leftover jam or sauce jar)
· pencil
Directions
1. Heat the soy wax flakes in a pot over low heat. Stir as they melt.
2. Unwrap the orange crayon and break it up into smaller pieces. Drop into the melted wax mixture. Stir. Do not use food coloring!
3. Add the pumpkin spice, nutmeg and cinnamon to the mixture and stir.
4. Place the wick into the glass jar and pour in the melted wax mixture.
5. Wrap the excess wick around a pencil and allow the wax to harden. This should take about 4 hours.
6. Once the candle has hardened, trim the wick. It is best to let it sit overnight before lighting it.
7. Light and enjoy this fragrant pumpkin spice candle!
Alexis based her DIY off of this video by Savvy, so those interested can watch it for a better idea of the final product.
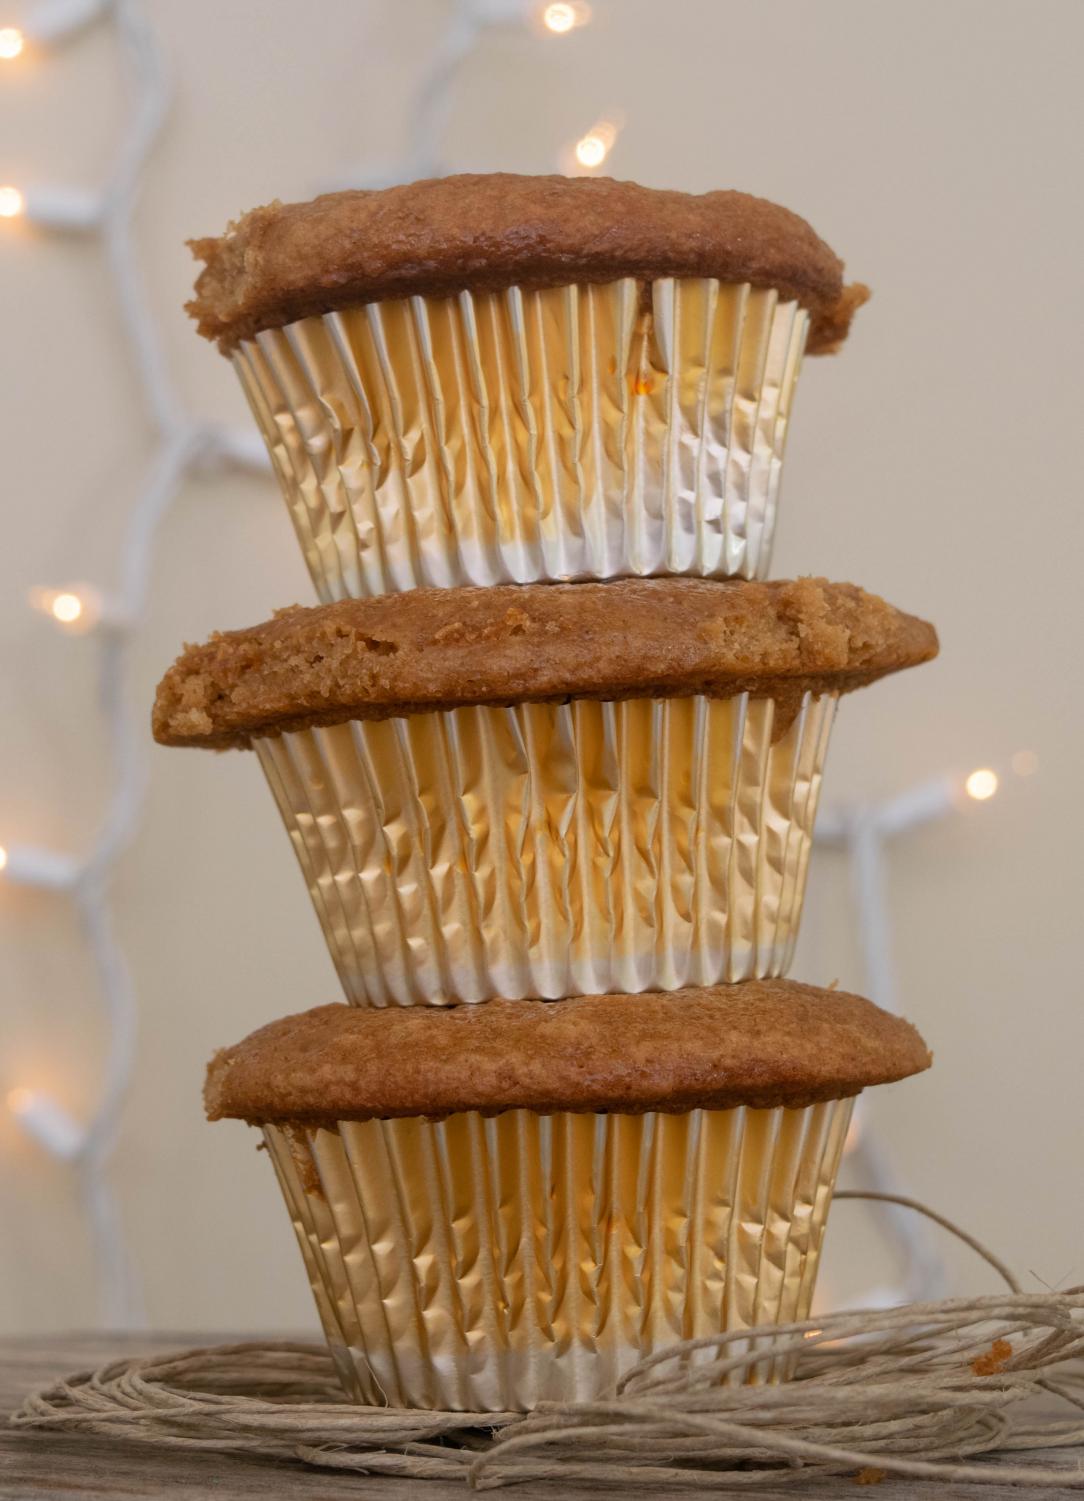
Two ingredient pumpkin muffins
by Olivia Fortner
The smell of pumpkin spice can also make anyone hungry. These muffins are a quick and easy way to satisfy cool-weather cravings.
Ingredients
· 1 box spice cake mix
· 1 can pumpkin puree
Directions
1. Combine dry cake mix and pumpkin puree. Stir well.
2. Divide batter evenly into 12 standard muffin cups
3. Bake at 375 F for 18-20 minutes
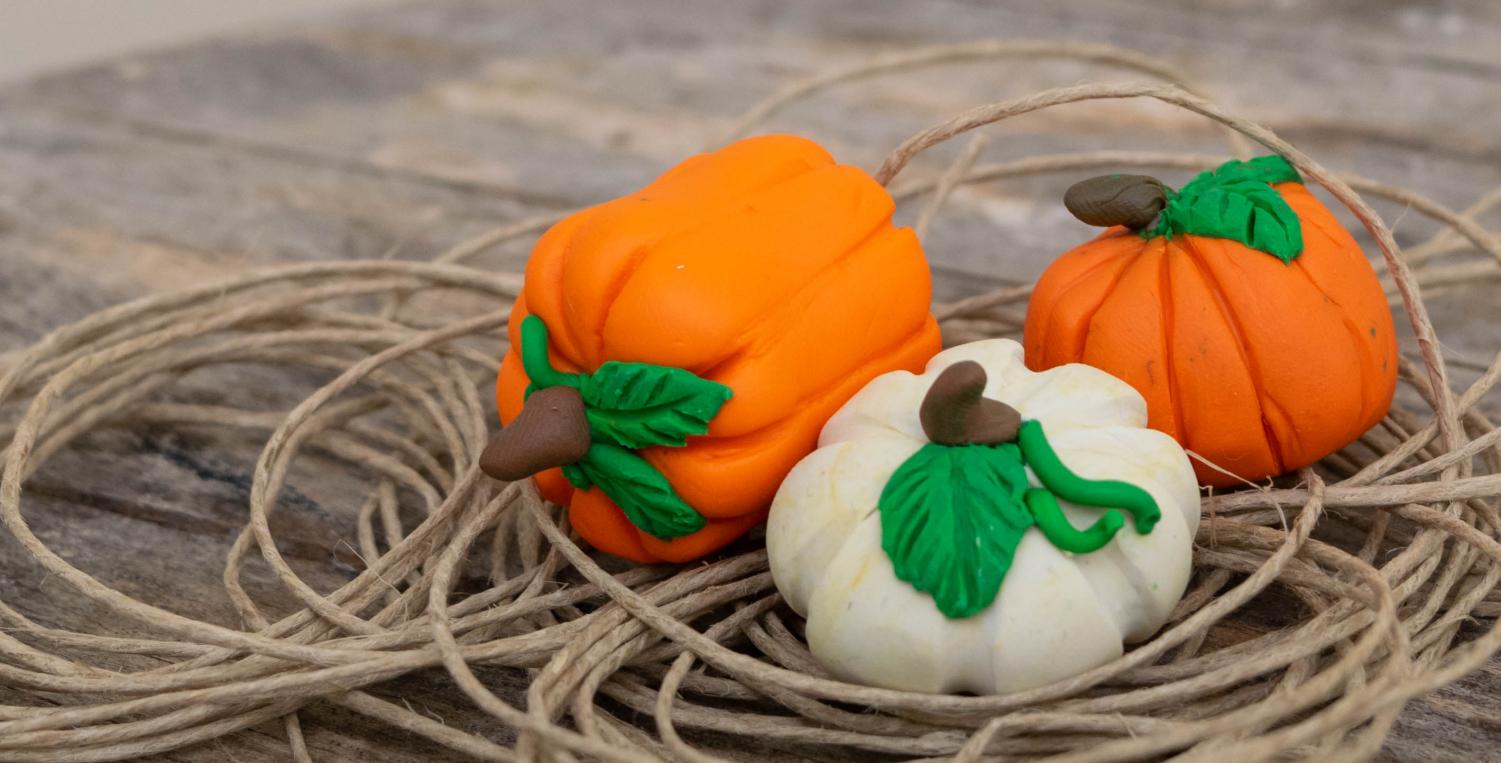
Mini Clay Pumpkins
by Russell Chesnut
These pumpkins are fun to play with, but not to eat! Mini sculptures are a fantastic way to mix festivity with fine art.
Materials
· polymer clay in desired colors
· sewing pin
· toothpick or other thin tool
Directions
1. For the pumpkin body, roll a medium-sized piece of clay into the general shape desired
2. Press the toothpick in a rolling motion over the height of the pumpkin to create the rind texture
3. For curly vines, roll a small piece of green clay into a long strand. Curl the strand around and down the sewing pin. Bake for 10 minutes. Once cooled, remove the vine from the pin. Attach to the body beneath the leaves/stem.
4. For leaves, mold a small piece of green clay into a flat leaf-like shape. Pinch to create a tapered end. Use the toothpick to create lines for texture.
5. For a stem, mold brown clay into a short tube shape. Attach to the top of the body along with the leaves/stem.
6. Bake for the time and temperature specified on the clay packaging. Different brands vary.
Russell based their DIY off of this video by Heather Wells, so those interested can watch it for a better idea of the sculpting process.
Students who are interested in seeing their completed DIYs or DIY tutorials featured in a follow-up story can send their info to [email protected].